Feature available for all plans: Free – Up to 100 pins | Essential – Up to 1,000 pins | Pro – Up to 10,000 pins | Advanced – Up to 100,000 pins
Whether you want to look at your portfolio of customers or your suppliers’ locations, the ability to add pins to a map can be a key functionality for analyzing your catchment area.
With smappen, for more detailed analysis, you can import your own pins onto the map from an Excel file.
Before starting, don’t hesitate to check the page to prepare your file for import.
Import the data onto your account
To import your datapoints on one of your maps, you need to first upload them to your account.
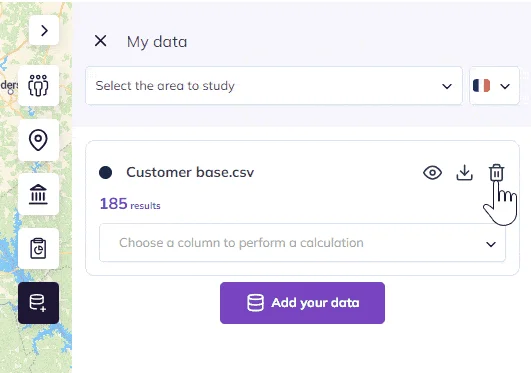
1 – On one of your maps, click on “My Data” on the right side of the screen:

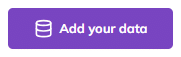
2 – Click on “Add your Data”:
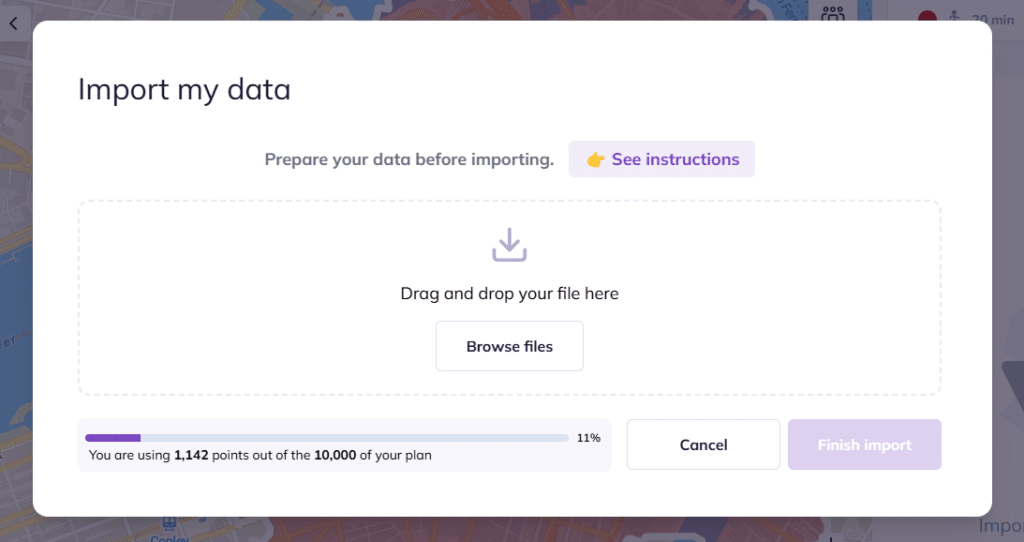
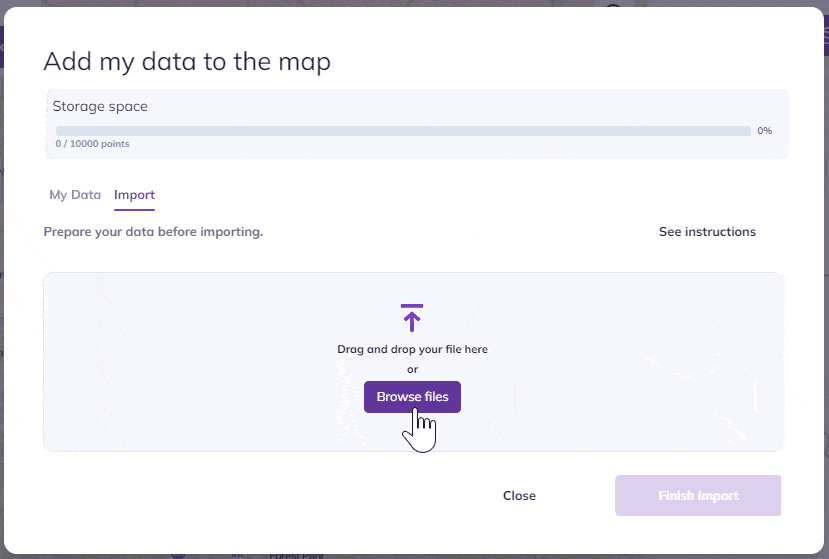
3 – The data import window opens with the data already added to your account.
If you haven’t added any data yet, it will be empty
- To add your first dataset:
- Drag and drop your file into the designated area
- Or click on “Browse files”
- Start by selecting the column(s) in your file that contain the address information:
- A single column if the full address or GPS coordinates are contained in one column
- Multiple columns if the information is split across several columns in your imported file
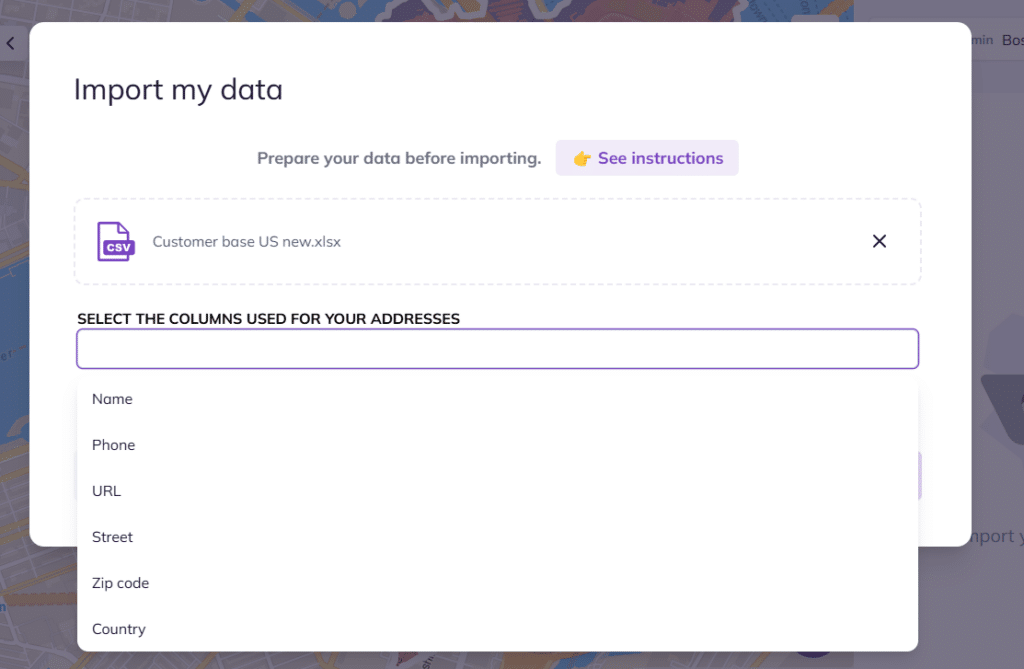
If your address is split across multiple columns, make sure to select all the relevant ones.
The system will automatically recognize the type of data you’ve selected and suggest ways to improve your import so your pins show up correctly on the map.
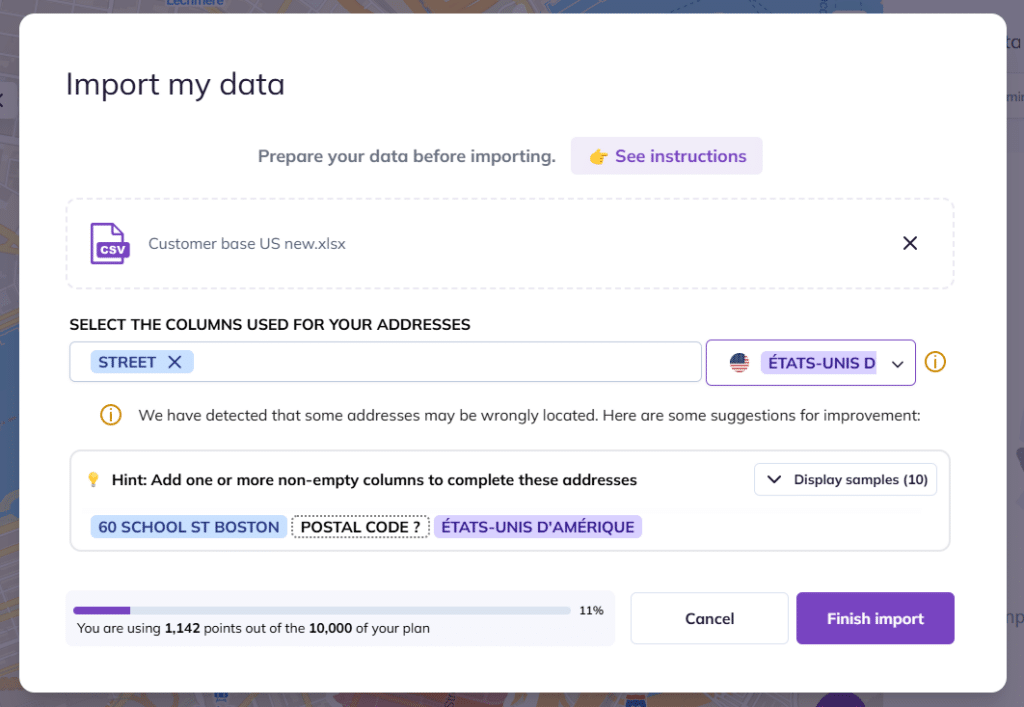
The system also identifies the country associated with your data.
If needed, you can change this selection by clicking the small dropdown menu to the right of the address bar.
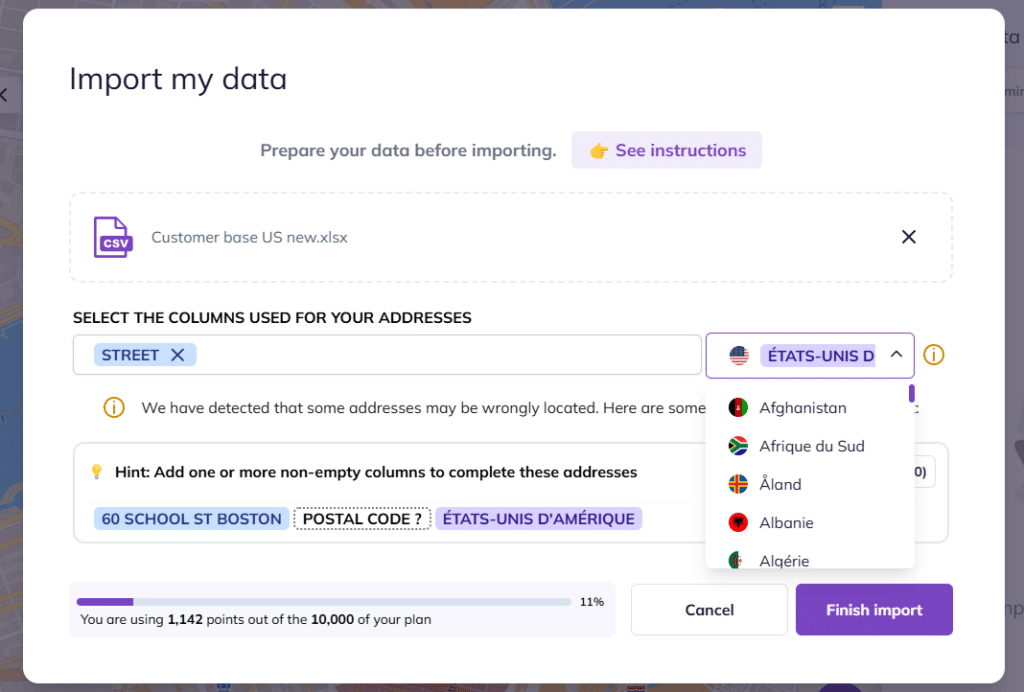
- Once the address is correctly selected, you’ll see a message that says “Addresses look properly formatted.” At that point, just click “Import.”
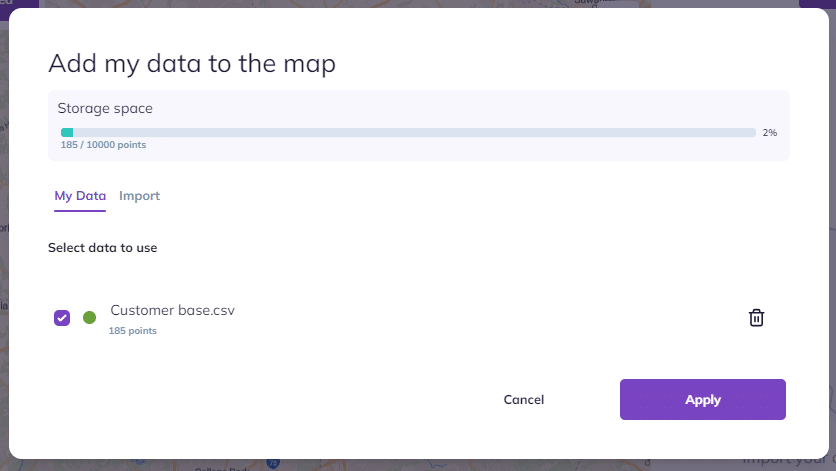
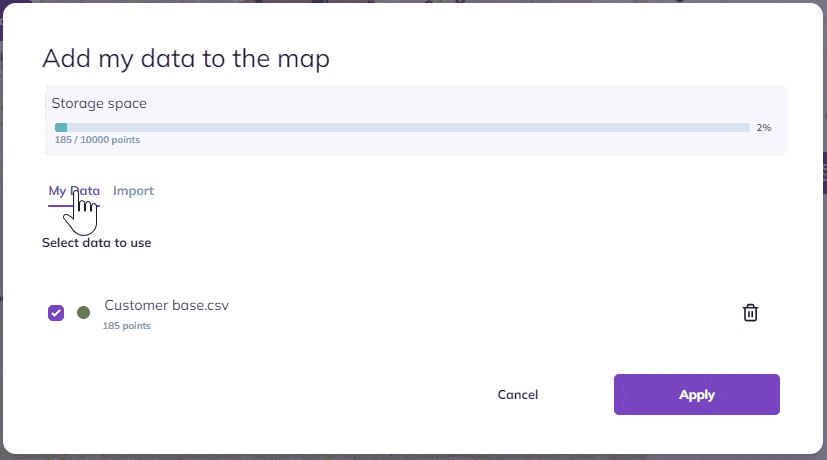
4. Add your data to the map.
In the “My Data” tab, the dataset you just imported is already selected, click “Apply” to add it to the map.
Data import limit on your account
You can import as many dataset files as you want, up to a total limit according to your plan:
- Free plan: Up to 100 pins
- Essential plan: Up to 1,000 pins
- Pro plan: Up to 10,000 pins
- Advanced plan: Up to 100,000 pins
A gauge is available in the “Add your Data” window.
Once the limit is reached, you won’t be able to add new dataset to the account.
You will need to delete one or more dataset files to add new ones.

Note: This pins limit applies to the entire company account. This includes your personal access + the access of all users associated to your profile.
To import more than 10,000 pins onto your map, please contact the Smappen team directly at [email protected].
Import data onto your map
Data must be previously imported onto your account to be available for import on the map.
Once the data is available at the account level:
1 – On your map, click on “My Data” on the right side of the screen.

2 – Click on “Add your data”

3 – In the “My Data” tab, select the dataset you want to use and click on “Apply”
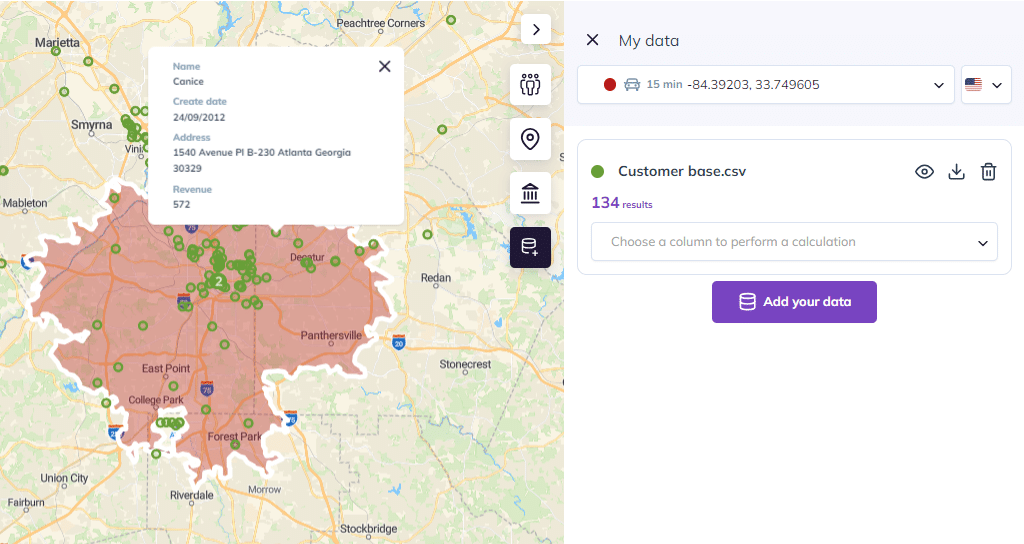
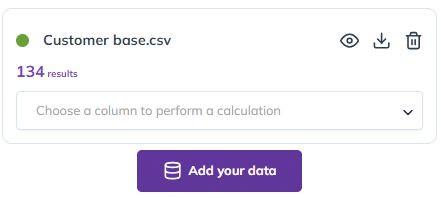
Your list of data appears on the right panel.
The displayed number corresponds to the amount of data included in your selected area.
For example, in the visual below: we have 134 data points in our Atlanta area, out of the 185 initially imported.
The data also appears on the map, click on a point to access all the details available in your imported Excel file.
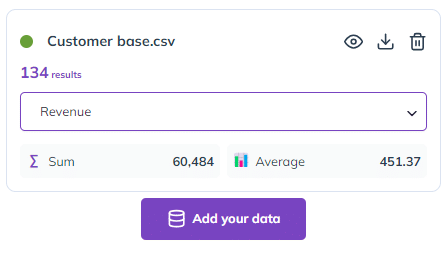
Advanced feature on your data added to a map
You have the possibility to perform automatic calculations on some of the columns present in your imported Excel file.
Click on the dropdown menu to select the column on which you want to run a calculation.
For example, if your Excel file contains a column for revenues by customers, you can get the sum and average of sales in the selected area on Smappen.
Delete a dataset from your map
To delete a dataset from one of your map, in the “My data” tab, click on the trash icon on your dataset.
Please note: the data set is deleted from your map but not from your account. If it has been added to other maps, it remains available on them.
Delete a dataset from your account
1 – On one of your maps, open the “My Data” tab on the right panel.
2 – Click on “Add your data.”
3 – In “My Data” you can see all datasets available on your account.
4 – On the line of the dataset you want to delete, click on the trash bin icon.
5 – Confirm the suppression by clicking on “Delete” a second time or cancel by clicking on “Cancel.”
Important: the data will be removed from the account as well as from all the maps where it had been added.
To go further: